Silicon cantilever sensor with digital interface
More and more, special parameters of functional surfaces determine the quality requirements in the metalworking industry. Especially the detection of roughness by optical methods reveals a problem of qualitative verification. No parameters can be determined that allow traceability to the various standards in roughness measurement technology. Even the use of complex image processing routines does not provide any usable information for such functional surfaces.
Tactile measurement allows high-quality parameter acquisition. However, conventional tactile step devices are much too slow in dynamic measurement operation. To scan an area of (10*10)mm2 with 100µm scanning step width, a conventional probe needs approx. 2 hours, at a feed rate of 250µm/s. Some devices of different manufacturers allow feed rates up to 5mm/s. However, in this measuring mode only a few seconds are needed. However, in this measuring mode, only form measurements on objects with a very high surface quality are possible. (Resolution in Z-direction up to 2 nm, minimum probing force approx. 10 µN, measuring frequency up to 20 kHz).
The micro probe made of silicon, manufactured at the CiS Research Institute, with a mass of only a few micrograms, has a high dynamic range. Equipped with a fast digital interface, the tactile probe easily acquires the measured values in a few minutes.
Close up of a functional surface
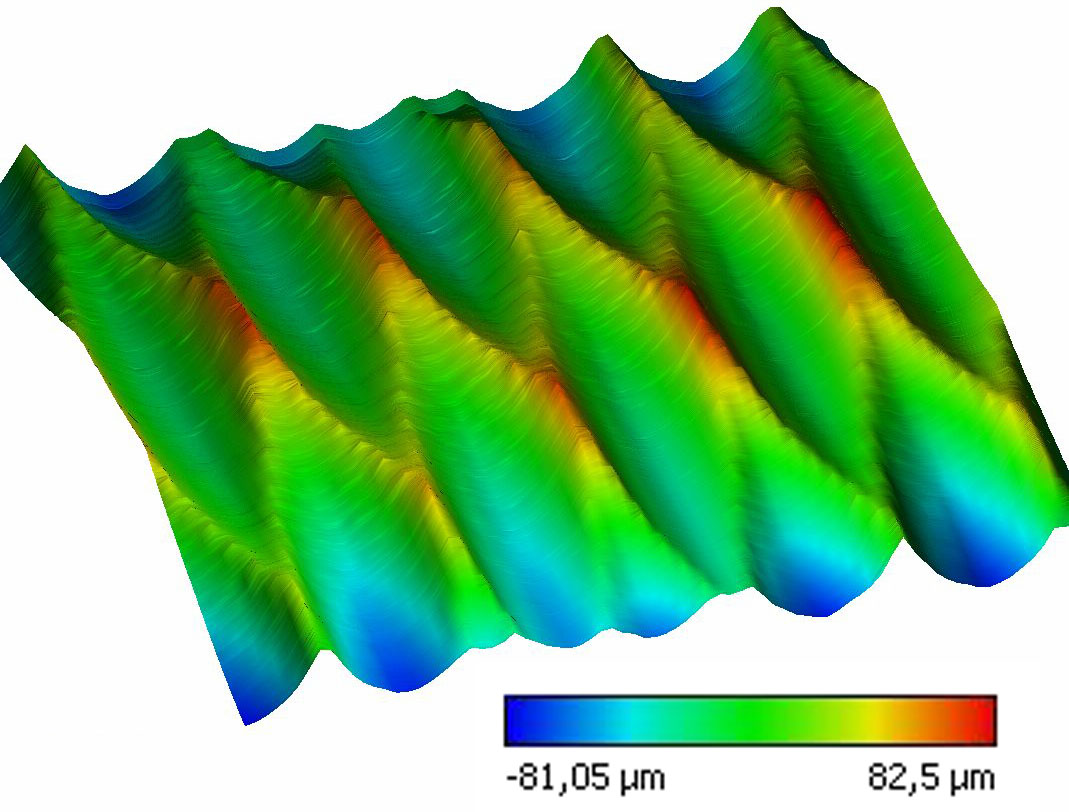
3D display of the measurement result


