SIREX-C (JenaWave GmbH / PVA TePla AG)
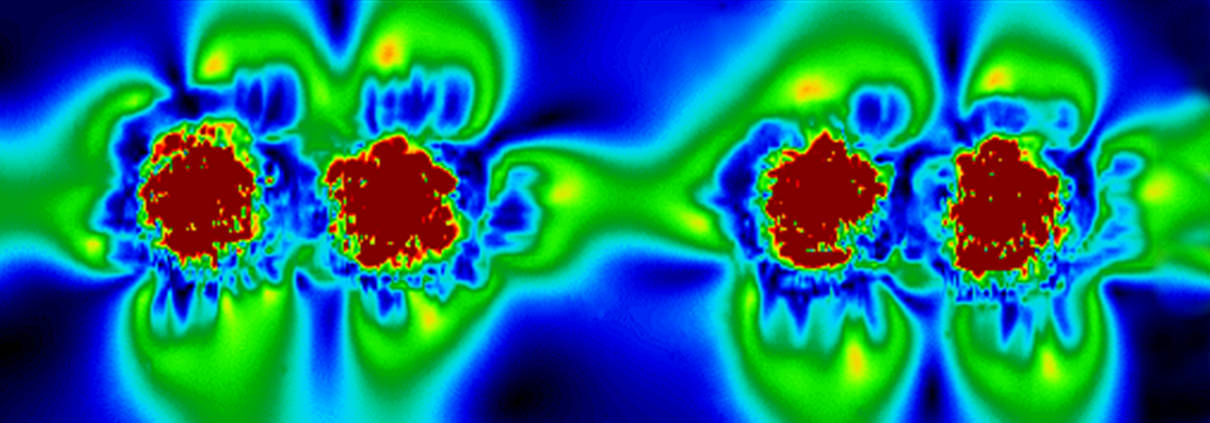
To obtain a planar shear stress image, the physical effect of stress-induced birefringence in silicon is used. Local stresses produce a distortion of the crystal lattice in the crystal and thus lead to an optical anisotropy, which results in the birefringence of a transmitted, previously polarized light. The absolute shear stress within the sample can be inferred from the measured phase difference between the ordinary and extraordinary beam that then occurs.
The SIREX measuring instrument is a scanning laser microscope that uses polarized infrared light of a wavelength of 1.3µm as a polarimeter. A linearly polarized laser beam from a semiconductor laser is directed at the sample in such a way that it penetrates from the front, its focus is on the back, and the light reflected from there is returned to an analyzer. In this process, the laser beam passes through the sample thickness twice and, in the case of birefringence, acquires the desired phase difference, which is expressed as depolarization. By performing an x-y scan under the fixed laser beam and recording the obtained depolarization data, a lateral image of the shear stress is generated. The method is vertically integrating and therefore does not allow depth profile statements. On the other hand, the lateral shear stress fields are recorded with resolutions down to 2µm.
Typical tasks for the SIREX are the investigation of stress fields in Si-based microelectronic or micromechanical device structures, but also the more accurate identification of local defects in wafers:
- Recording lateral mechanical stress distribution in Si-based components around bondings, holes, …
- Measurements of altered lateral stresses around membranes of Si-based devices before and after energization


